Hi everyone! I’m back again with another tutorial/fun paper crafting idea, and if you didn’t already know—I’m a seller on Etsy; and, one of the things I like to do when completing an order is sending a ‘Thank You’ card along with each package. I like to think that the buyer will have an even greater experience if they receive a hand written thank you note of appreciation from the person who put all their love into making the product. So today I’m going to show you how I make mine!
Here is a list of the tools I use:
1. Ivory Card stock (8 ½ x 11)
2. Paper Trimmer for 12 x 12 paper
3. Scoring tool (Awl or Bone folder)
4. Background Stamp (Any background stamp that you prefer will do)
5. Sentiment stamp
6. Ink
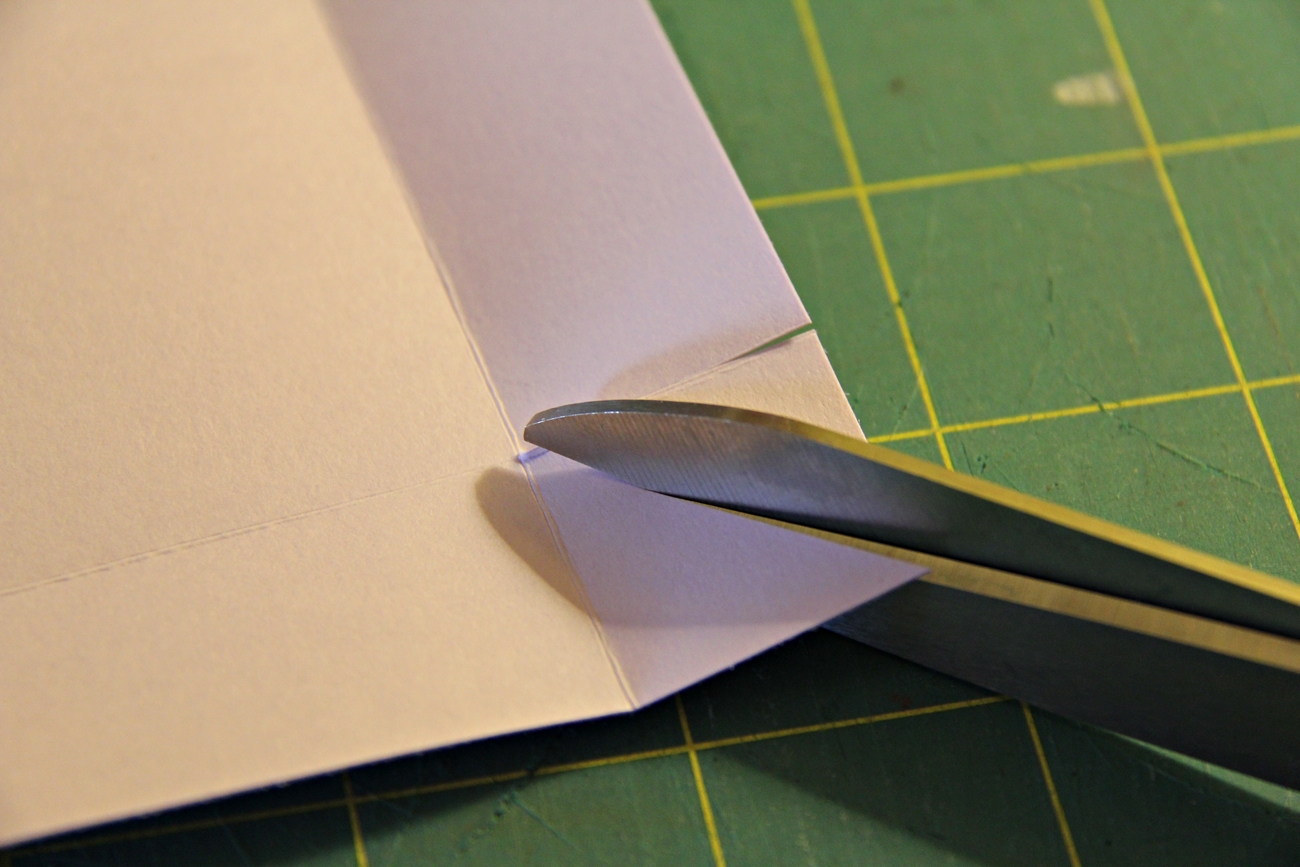
7. Scissors
Ok, now let’s get started!
Step 1: Take your ivory card stock and cut it down to a 7 x 4 piece of card stock, using your paper trimmer.
Step 2: Score the card stock down the middle and fold it in half.
Step 3: Choose your background stamp—in this case I’m using this wonderful lace background stamp that I’ve recently purchased from my local craft store. Once you’ve chosen your background stamp go ahead and stamp the bottom of your card stock in the color ink that you prefer. Right now I’m obsessing over the color lavender.
Step 4: Now you can choose your sentiment, and stamp it in the middle of your mini note card. I chose to make Thank You cards, but by all means use any sentiment you like—get creative with it!
Step 5: (This step is completely optional) Cut around the background image, then you’re left with this really cute ready-to-use note card.
Thanks for stopping buy for another tutorial! I hope you enjoyed it. If you liked this idea so far I’m sure you will love what is to come next. I’m creating something really cute to store all these wonderful note cards; and I’m going to share that with you in another tutorial post, so—stay tuned! Or shall I say…..TO BE CONTINUED…………………..