Showing posts with label favor boxes. Show all posts

DIY—Stationary Box, A2 Size

Friday, April 19, 2013

I've always wanted to figure out how to make my very own stationary boxes for gift giving and product packaging as well. I sell a few card sets in my shop and I thought it would be cute if the card sets came with a pretty box too. I love figuring things like this out because I feel that some favor box dies on the market are way too expensive and they’re not even that big. So, I’m super happy that I set some time aside to figure this out. As you can see from my images I also made these with the same ‘button and string’ theme as the A2 size envelope I made, here, over at the Lawn Fawn blog. However, today's tutorial will show you how to make this box from start to finish and this box can also hold up to 6 cards and 6 envelopes. I think I’m going to be giving things like this as gifts from now on; and, Mother’s Day is right around the corner!
First I start with a piece of pattern paper—however, you can use any type of paper that fits your needs. You can make some of these out of thick Kraft paper, or any other thick cardstock that you love. Tip: I think this project would work best with cardstock that is of  70lb. thickness or higher.
To show you how I scored the cardstock I’m going to transfer over to this cream cardstock and score the lines in black with my pen—just so you can see it better. You don’t need to use ink markers on your project. Let’s begin: Whether you’re starting off with a piece of 8 1/2” x 11” card stock or a 12” x 12” piece—cut it down to, 6 7/8” x 11”. Next lay the cardstock length wise and score at: 1 1/4”, 1 3/4", 6 1/8”, and 6 5/8” as shown in the above image. Shift the cardstock height wise and score at: 1/2", and 6 3/8” as shown in the image below. 
Once all of the score marks have been made, take your scissors and cut off the left and right sides of the lid, then cut the gusset tabs without removing them like so:
Crease the score lines using a bone folder (or your finger), and draw your button holes.
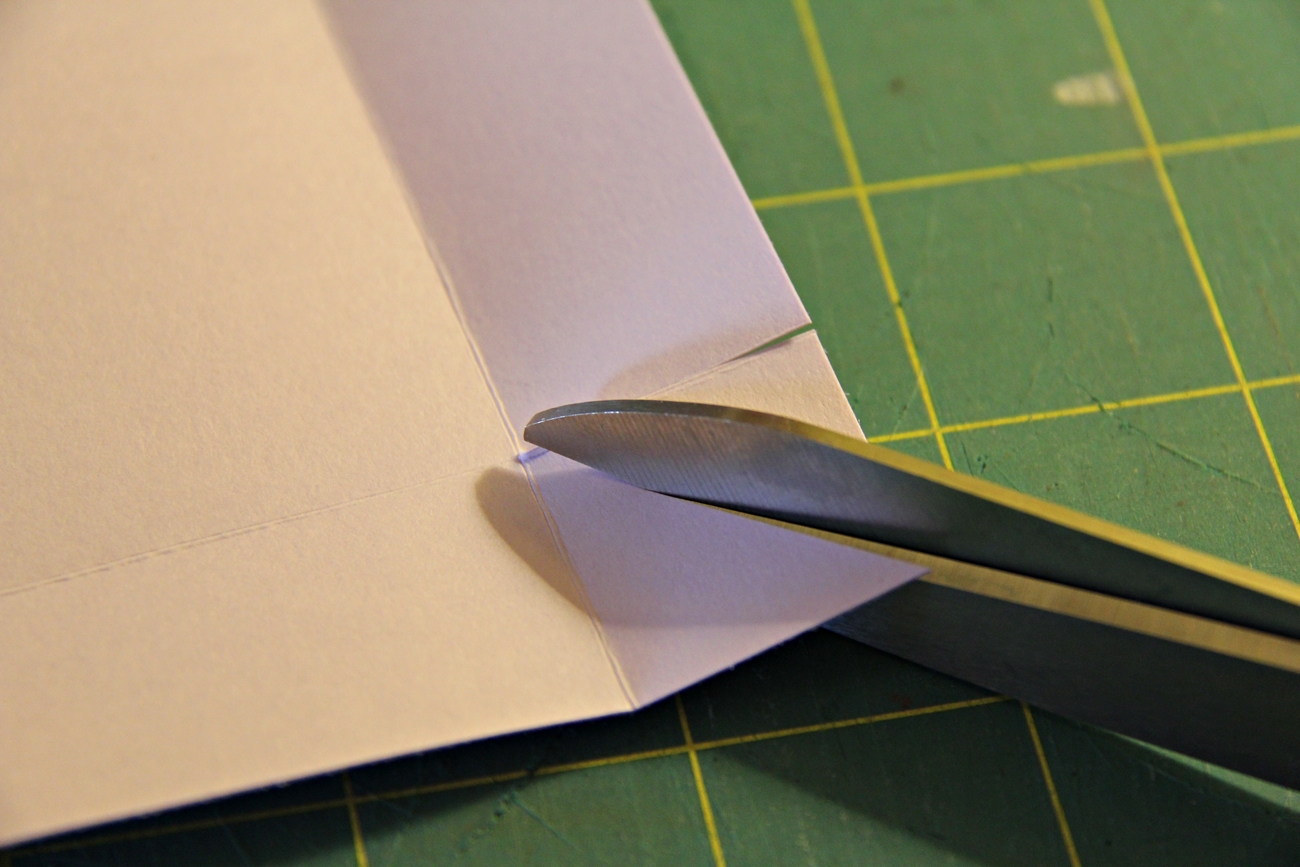
Next, round the corners of the lid (optional). 
*Switching back to pattern paper mode, hehe. 
Next you can take a small circle punch, cut two circles and punch a smaller hold in the middle (I used my Crop-a-Dile for this). Once that is done, choose your brads and attach them to your box.
Now you can assemble your stationary box using any adhesive that fits your needs. I’m using my ATG; and, I start by bringing the gusset tabs, to the tabs of the backside of the box. Then I adhered the tabs on the front of the box to the back tabs, like so:
 Lastly, attach the bakers twine and it's finished!
I made these really cute ‘Thank you’ cards for this particular box and I love them so much. They're one-layer cards (my favorite types) and I made these using my trusty Lawn Fawn stamps. I wanted to give these away as a gift—like I mentioned in the beginning of this post, and I’d like to give my readers a chance to win them! Yay! If you’d like me to mail these to you feel free to leave me a comment. I’ll pick a winner using the Random Number Generator on Monday AND I’ll send you two sets! You’ll receive this set shown in the images and I’ll make you another super cute one as well. Doesn't that sound fun? This giveaway is only for my readers within the U.S. (sorry guys). I would love to ship these out of the country but let’s face it. International shipping is so expensive right now, with USPS doubling international shipping rates ‘n all. Ok well, I hope you've enjoyed this DIY and have a great weekend! Don't forget to comment to win! 

How It's Made--Baked With Love Tags Series # 1

Monday, July 2, 2012


Hello again! I'm happy to start a new series of posts' here on my blog. It's my first series and I'm naming it 'How it's Made'. I usually have D.I.Y. posts' and that's all find and dandy-- but sometimes I wonder if anyone ever wants to know how I make the products I offer on my page. The item I'm going to showcase in my first 'How it's made' series is a set of tags I just created this weekend. They're new, and they'll be added to my Etsy page in due time--but enough talk, let's get this show on the road!


The tools I use for this project are as follows:

-Plus One stamp set by Lawn Fawn

-Harold's ABCs stamp set by Lawn Fawn

-Heart shape stamp (small)

-Cut tags

-Markers

-Black Ink

-Red Chalk Ink

-Bakers Twine


Before I upload a flood of images, let me just say that I've recently stumbled upon the Lawn Fawn website through Google; and I'm so happy that I did! They have the cutest stamps I've ever laid eyes on. Their stamps have completely renewed my love for papercrafting. You can find them here.

Now, let's begin!

Here are pictures of the cute stamp sets--you can see for yourself how adorable they are.


What I did first was cut out some tags with my Cricut. Then used the 'bun in the oven' stamp from the Plus One stamp collection, and stamped my image on the 2 inch tag. Next I used the Harold's ABCs set to create the sweet sentiment, 'Baked with' and then used a heart stamp for the "love"; and I stamped the heart in red ink for a bit of contrast.


Next I used my Prismacolor Art markers to color in the image. I've found that most crafters prefer the use of Copic markers but let's face it, they're ultra expensive and I have to use the only tools that are available to me. This is sorta off topic but I've had these markers for 10+ years and I've never even had a purpose for them until I started buying Lawn Fawn stamps. I'm so happy that I finally have a reason to use them now!


Once I've completed coloring in the image I simply attached the bakers twine and then I'm finished!


Here is the finished product:


Thanks again for stopping by, and I look forward to more 'How it's Made' by Unify! Till next time my friends.

DIY—Handmade boxes!

Thursday, June 28, 2012

Hello everyone! I’m so excited to be back with this really easy—yet super fun, tutorial. I’ve always been interested in making my own card boxes; and one day I felt like searching the sea of videos on Youtube to find a quick, easy, and fun handmade box tutorial. When searching, I came across this really cute duo, from the UK, that has a blog and Youtube channel dedicated to handmade crafts; and, I immediately feel in love with them. They’re so cute, funny, and delightfully entertaining. You can find them here and here.

What I did was take the box making instructions they’ve provided and made a box according the dimensions that I needed. I wanted to make a box for my handmade ‘Thank you’ cards, but I also wanted room to include handmade envelope seals and a black and white bakers twine for a little added cuteness.
For this tutorial I’m going to simply show photographs of how I made these boxes, but you can check out their video for detailed instructions on how to cut and assemble these boxes. I don’t want to take full credit for these—I’m hoping to get them the exposure they deserve for this wonderful idea. You can click here for the video.

Enjoy!


Now wasn’t that just the cutest?! I love that I know how to make these now—these would work great a gifts, favor boxes, and so much more. I hope you give this a try! Happy Crafting!
Proudly designed by | mlekoshiPlayground |