Showing posts with label cuttlebug. Show all posts
DIY Tote Bag Using Lawn Fawn Dies, with Video
Wednesday, August 20, 2014
Today I have a really fun DIY video over on the Lawn Fawn blog and Youtube Channel! I purchased a plain white medium size canvas tote bag from Michaels for only $4.00 and used Lawn Fawns die set, Louie's ABCs on some contact paper to create a stencil and hand painted the name Sammy onto the bag. I made this for my niece Samantha--since it's back-to-school time!
For more details on how to create your very own personalized tote bag feel free to watch the video below!
I hope you enjoyed this simple tutorial and have a great day!
A2 Stationary Box with A Window
Wednesday, September 25, 2013
My favorite season (Fall) is finally upon us! I couldn’t be
happier right now. This means I don’t have to suffer in the summer heat any
longer, and I can get out all of my sweaters, gloves, and beanies out. Not only
do I love the fall weather but everything else that comes along with it; such
as, the awesome fall inspired crafting products. Lawn Fawn came out with some
pretty amazing products for fall, and—of course, I LOVE them! Today I’m making
a really cute A2 box with a window using their new fall paper collection, Intothe Woods, as well as their new die set, Stitched Journaling Card (which I used
to create the window on the back of the box). Not only did I use their new
paper, and die set for this—I also used their super cute new brown and white
twine, you can find it by clicking here.
As if the paper, twine, and dies aren't cute enough—Lawn Fawn
also has a coordinating stamp set that goes with the entire collection named,
Into the Woods. This set contains adorable images like this deer, clouds, and
text bubble that I used to create the stationary. I was so excited to get this
stamp set out and create something with it. I’ve been working so many hours,
getting all of my orders out, and I haven’t been able to use that many of the new
products I got from LF. So you can image how happy I was to make these cards,
hehe. I wanted these cards to be colorful yet still only one layer. I used
plenty of different, Hero Arts shadow inks, and I think the colors I used match
perfectly with the paper I used to make the box.
If you are interested in learning how I made the box, you
can find the tutorial I made on the subject by clicking here. I also created a template
for this box so that I will always remember the dimensions—it really comes in
handy, because I make so many different things and it’s hard for me to remember
the sizes of things!
If you have any questions on how I made this box, feel free
to leave me a comment, but don't forget you can click here for the tutorial. Have a great Wednesday!
Card of the Week--Star shaped Card
Wednesday, July 3, 2013
It’s been a while since my last ‘Card of the Week’ post. So
I thought I’d take some time to create something cute and sweet—just for fun. I
used my puffy star shaped dies, by Lawn Fawn, to create this star shaped card.
I got the idea of making cards in a variety of fun shapes and sizes from Kelly
Marie, over at LF. I think this card came out so cute. I never even thought of
using different shapes for cards—I was always using the traditional A2 size. I've never even made a 5X7 card! I need to make one of those soon, too. If you’d
like to know more about making star cards, or other shapes, check out this
video with the detailed instructions showing how you can make your very own:
click here.
Here are a few shots of the stamp sets I’ve used to create
this card. For the ‘Thank you’ text bubble I’m using this stamp set (click
here), and for the botanicals lion, banner, and sentiment, I’m using the
following sets: (Click, here, here, here, and here). You can also see how I
sneaked the gelly pen into the shot, hehe. This is the pen I used to create the
faux stitching around the edges—I love it—especially on Kraft card stock.
I’m also using the Dewey Decimal petite paper pack and I
just love the designs in this pack—You can see a sample of how awesome this
paper is be checking out the background on this card I made. So cute right?
In order to get the 3D effect, I used some dimension adhesive
as shown in the image. I love use these when creating cards. I think it adds so
much, and really looks like a lot of work was put into a creation.
I really love this card, and I’m even thinking about all the
different shapes I can make. What I love most about the LF dies is that the
biggest die is the perfect size for an A2 envelope—so I don’t have to worry
about finding any specific envelope. Love it! Let me know what you think of it
in the comments. I can’t wait to give this card out. I wish someone would send
me cards like this, lol.
Cute Gift Card Holder Idea for Cricut Users and Paper Crafters
Sunday, February 19, 2012
Hello! I’m excited to be showing everyone how I go about making my gift card holders. I’ve been working on a lot of birthday cards, toppers, and many other things. So, I thought I’d share this cute idea with all my Cricut/paper-crafting friends. If you don’t have a Cricut or some of the tools I have, don’t worry. If you’re like me you’ll find a way around not having some of these tools.
Moving forward, the Cricut cartridge I’ll be using for the envelope is, “Just Because” Cards; and the paper I’m using for the envelope and card holder insert is the 70lb Kraft paper—my favorite paper!
After you’ve powered up your Cricut set the size to 4 inches, and select the ‘Canoe’ envelope feature and hit cut. Once that has been cut out, raise the size from 4 to 4 ½” inches, then click your shift button, and click <Pickle’s>. Then click cut. Once you’ve cut those out remove them from your mat, and score the envelope.
Next, pick your pattern paper! I love flipping through the pages of my paper stacks.
Once you’ve selected the paper you would like to use go ahead and choose a base color as well. I’m choosing pink as my base color. Remember to cut the base color smaller than the size of the envelope, that way you have a border; and do the same for the patterned paper as well (Make it smaller then base paper).
Then what you can do is use a brown chalk or ink around the edges to give it a vintage look (Optional).
Next I cut out a pretty shape that will be one of the main parts of the ‘Happy Birthday' Message. I cut these using my Cuttlebug.
Then I add a cute flower stamp with a very light pink color—for added cuteness.
Next I used a ‘Happy Birthday’ stamp with dark pink ink on a scrap piece of paper that is the same color as the base piece of paper (pink). Then hand cut that out and glue it to the shape stamped with a flower pattern like so:
Then what I like to do is use foam tape to add a 3D effect:
Then from this point, you can add a pretty ribbon or a cute hand-stamped message.
Then once you’ve decided to use the ribbon or the stamp go ahead and glue the entire piece onto your Kraft envelope.
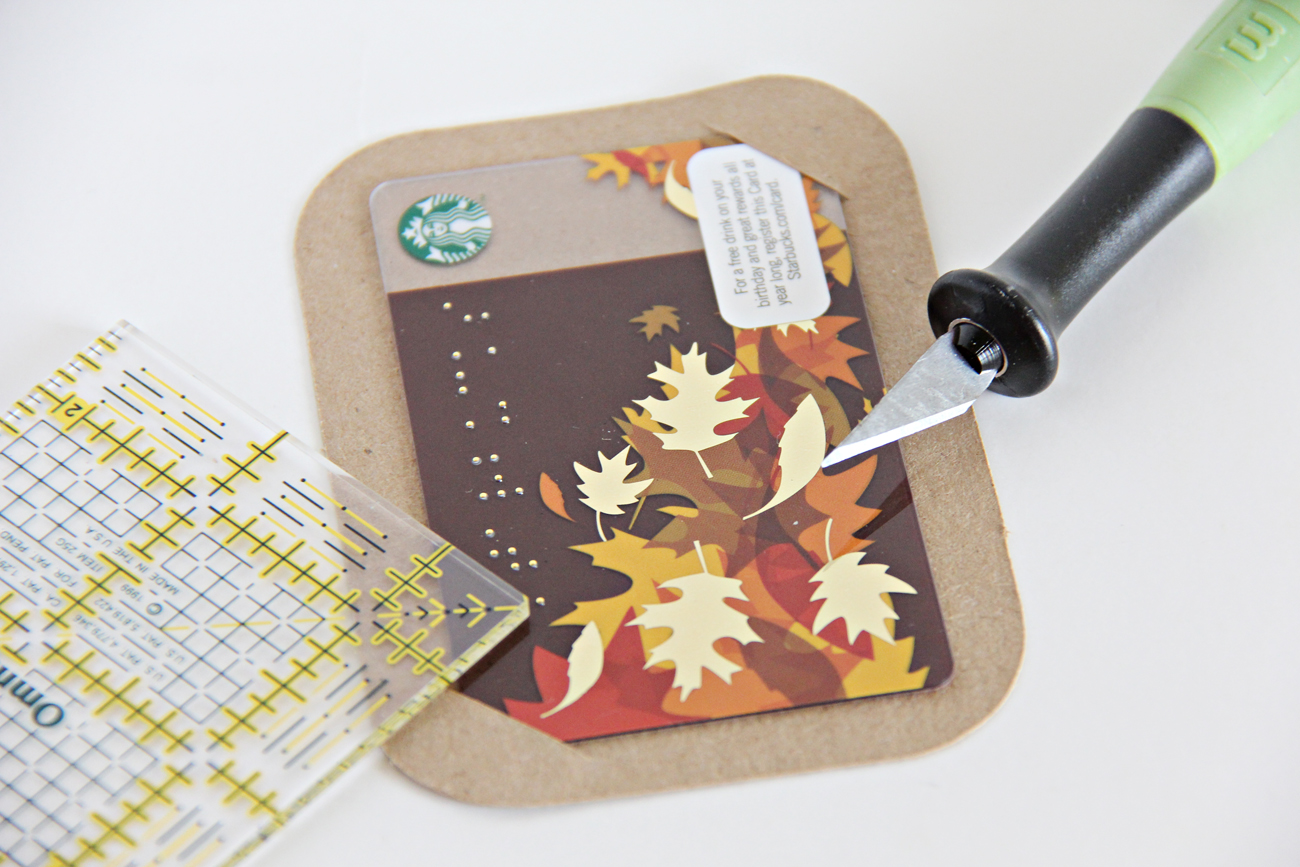
Lastly, go ahead and cut some corners onto the insert so you can easily secure the gift card, then you’re done!
I hope you’ve enjoyed this tutorial! I know I had tons of fun making this for my shop; and if you like this cute gift card holder but would rather not make it, feel free to stop by my shop and buy one!
Subscribe to:
Comments (Atom)


