Showing posts with label gift card holders. Show all posts

DIY—Handmade boxes!

Thursday, June 28, 2012

Hello everyone! I’m so excited to be back with this really easy—yet super fun, tutorial. I’ve always been interested in making my own card boxes; and one day I felt like searching the sea of videos on Youtube to find a quick, easy, and fun handmade box tutorial. When searching, I came across this really cute duo, from the UK, that has a blog and Youtube channel dedicated to handmade crafts; and, I immediately feel in love with them. They’re so cute, funny, and delightfully entertaining. You can find them here and here.

What I did was take the box making instructions they’ve provided and made a box according the dimensions that I needed. I wanted to make a box for my handmade ‘Thank you’ cards, but I also wanted room to include handmade envelope seals and a black and white bakers twine for a little added cuteness.
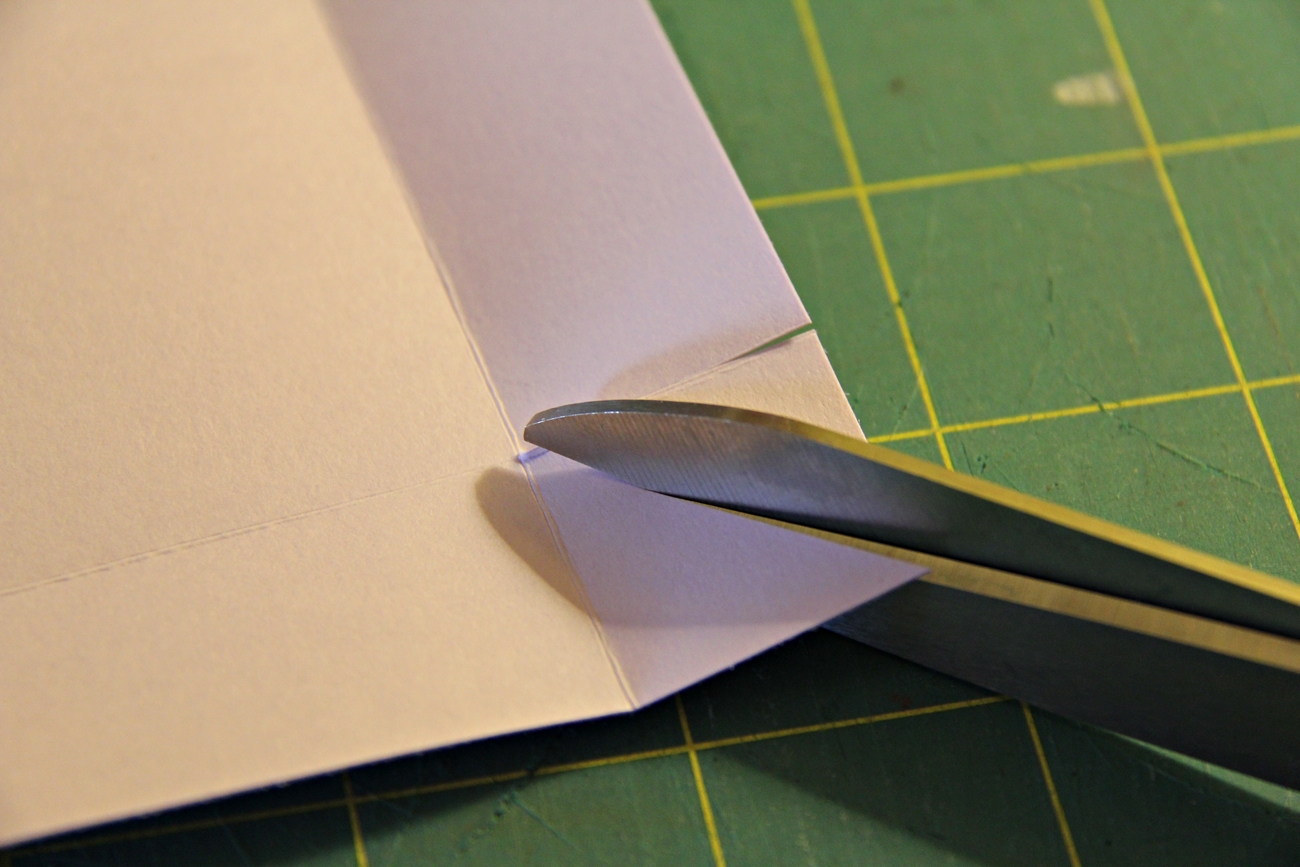
For this tutorial I’m going to simply show photographs of how I made these boxes, but you can check out their video for detailed instructions on how to cut and assemble these boxes. I don’t want to take full credit for these—I’m hoping to get them the exposure they deserve for this wonderful idea. You can click here for the video.

Enjoy!


Now wasn’t that just the cutest?! I love that I know how to make these now—these would work great a gifts, favor boxes, and so much more. I hope you give this a try! Happy Crafting!

Cute Gift Card Holder Idea for Cricut Users and Paper Crafters

Sunday, February 19, 2012

Hello! I’m excited to be showing everyone how I go about making my gift card holders. I’ve been working on a lot of birthday cards, toppers, and many other things. So, I thought I’d share this cute idea with all my Cricut/paper-crafting friends. If you don’t have a Cricut or some of the tools I have, don’t worry. If you’re like me you’ll find a way around not having some of these tools.
Moving forward, the Cricut cartridge I’ll be using for the envelope is, “Just Because” Cards; and the paper I’m using for the envelope and card holder insert is the 70lb Kraft paper—my favorite paper!

After you’ve powered up your Cricut set the size to 4 inches, and select the ‘Canoe’ envelope feature and hit cut. Once that has been cut out, raise the size from 4 to 4 ½” inches, then click your shift button, and click <Pickle’s>. Then click cut. Once you’ve cut those out remove them from your mat, and score the envelope.
Next, pick your pattern paper! I love flipping through the pages of my paper stacks.
Once you’ve selected the paper you would like to use go ahead and choose a base color as well. I’m choosing pink as my base color. Remember to cut the base color smaller than the size of the envelope, that way you have a border; and do the same for the patterned paper as well (Make it smaller then base paper).

Then what you can do is use a brown chalk or ink around the edges to give it a vintage look (Optional).
Next I cut out a pretty shape that will be one of the main parts of the ‘Happy Birthday' Message. I cut these using my Cuttlebug.


Then I add a cute flower stamp with a very light pink color—for added cuteness.
Next I used a ‘Happy Birthday’ stamp with dark pink ink on a scrap piece of paper that is the same color as the base piece of paper (pink). Then hand cut that out and glue it to the shape stamped with a flower pattern like so:

Then what I like to do is use foam tape to add a 3D effect:

Then from this point, you can add a pretty ribbon or a cute hand-stamped message.

Then once you’ve decided to use the ribbon or the stamp go ahead and glue the entire piece onto your Kraft envelope.
Lastly, go ahead and cut some corners onto the insert so you can easily secure the gift card, then you’re done!

I hope you’ve enjoyed this tutorial! I know I had tons of fun making this for my shop; and if you like this cute gift card holder but would rather not make it, feel free to stop by my shop and buy one!

Etsy Christmas Rush--So far so good & Announcement of Upcoming Items

Wednesday, December 7, 2011

Hello! I haven’t been around lately to fill the pages of my blog; however, I have a good excuse. I’ve been working hard on making new items for my website, shipping holiday items, and marketing my products. My holiday rush turnout was great, and yes I may not have had a huge amount of sales but it’s a start! I do feel that I have learned my lesson and next year I think I’ll be ready for the Christmas rush 3 months in advance. Here are a few of the items that I sold for the holiday rush—and I’m so proud.
Today I finished shipping may last custom order for this week (or maybe the last custom order for Christmas, we’ll see), so I started cutting fabric to make some more point-n-shoot camera cases in the meantime. I couldn’t believe how fast the first four I made sold out! Therefore, I have 10 more in the making.  One of the cases I’m working is going to be a surprise. You see, I took a picture of the camera cases that I’m working for my FB fans—showing all the fabrics and everything. But, I left one out. It’s a secret fabric and I know it’s going to be a hit! Or at least I hope it’s a hit—sometimes I have these visions of things in my head and then when I make them, they don’t work out, so let’s hope it does.
Moving forward, after I’m done with these cases I’ll begin to work on my Valentine’s Day collection. I’ve learned from my past mistakes, as mentioned before, and I’ll be ready for Valentine’s Day for sure. I have a list of items I want to make, and they are as follows (all V-day themed of course):
·         Tags
·         Cards
·         Gift card holders
·         Pouches
·         DIY cupcake kits
·         Cupcake toppers
·         And I guess whatever else I come up with after that
But rest assured I will share my ideas, and maybe even create some cute V-day themed tutorials with you all! I can’t wait. Ugh, I love holidays!
Proudly designed by | mlekoshiPlayground |