Showing posts with label diy wrapping. Show all posts

How it’s made Monday—Making Thank You Notes

Monday, September 3, 2012

If you've been following my blog for a while now you’ll know that I take pride in packaging my items before shipment. I love to provide a whimsical experience for my customer; and I’m always trying new ways to make my packaging look super adorable. Not only do I enjoy trying new ways to say thank you to my customers, I also like sharing how I go about doing making them too.

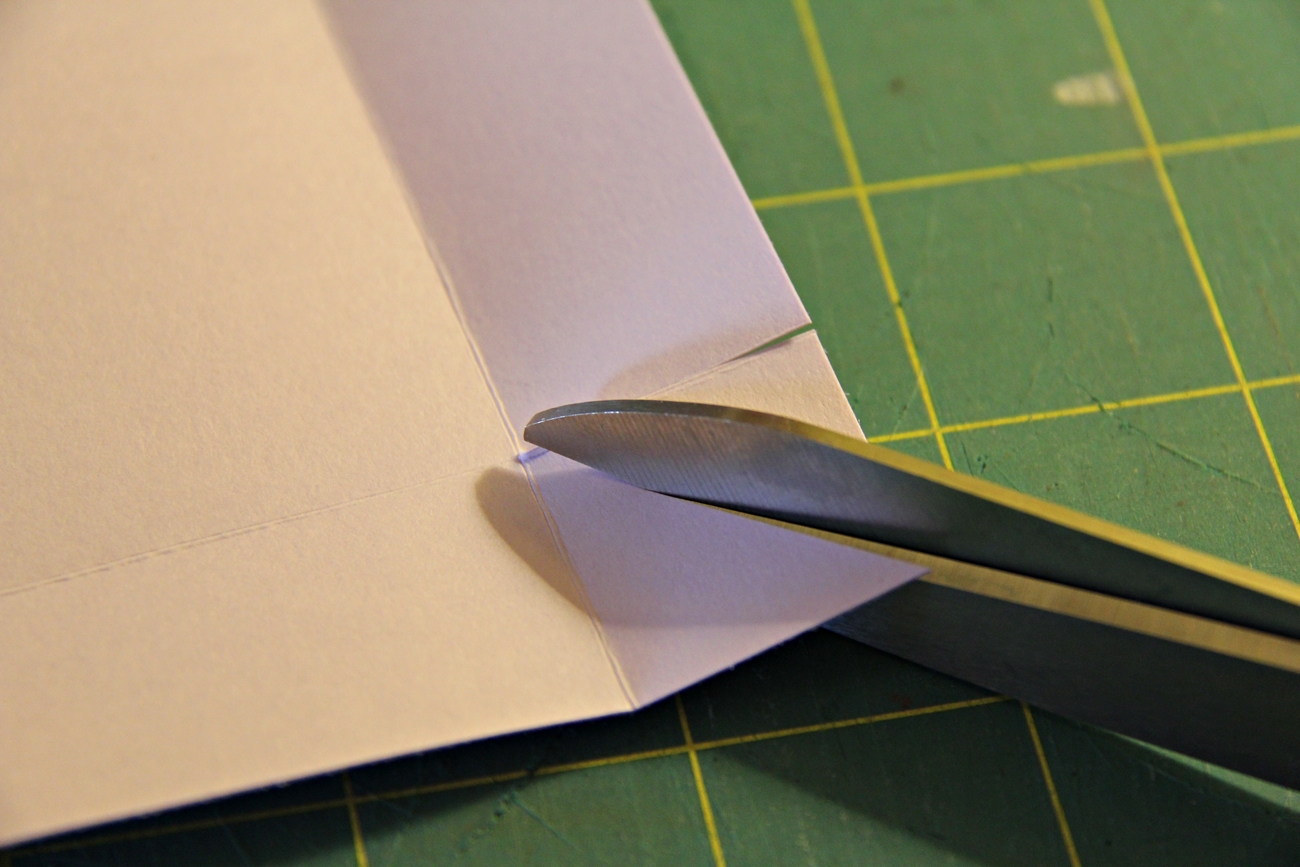
I love to use paper-scrapes from previous crafting projects and I’m going to show everyone how I use my lovely paper-leftovers. Saving your paper scrapes is so crucial because you can sometimes use those scraps for other projects like tags, toppers, and stamp image paper piecing. I have a box filled of different color paper scrapes and I love to go back to that box and search for the color pieces I need before starting from a full sheet of paper.

This time around I’m scraping (pun intended) my ‘Thank you’ card and instead started making the ‘Thank you’ circular tag with a washi tap accent. Really quickly—if you’re unfamiliar with washi tap, it’s a Japanese tape that lots of crafters use for decorating cards, tags, etc. Go ahead and give it a google if you’d like to learn more about them; and, to find the store that I buy my washi tape from you can click here.

So, I’m using ivory leftovers for my ‘thank you’ tags, and as you can see I have lots of them!
I’m also using my ‘thank you’ stamp courtesy of Lawn Fawn. I absolutely love that they provide a free gift stamp with all their orders. It makes receiving their packages even more fun. 
I’m also using one of my favorite Lawn Fawn sets ‘Love ‘n breakfast’ for this thank you tag and I’m using my 2 inch craft punch. 

…and this is how I use the stamps

Next, I simply color in the images and place some washi tape on the back of the tag to seal my bag (but sometimes I skip this process if I’m not using a craft bag), then I apply some more washi tape over the tag to secure it. That’s it! It’s cute, simple, and whimsical. 


DIY—Handmade boxes!

Thursday, June 28, 2012

Hello everyone! I’m so excited to be back with this really easy—yet super fun, tutorial. I’ve always been interested in making my own card boxes; and one day I felt like searching the sea of videos on Youtube to find a quick, easy, and fun handmade box tutorial. When searching, I came across this really cute duo, from the UK, that has a blog and Youtube channel dedicated to handmade crafts; and, I immediately feel in love with them. They’re so cute, funny, and delightfully entertaining. You can find them here and here.

What I did was take the box making instructions they’ve provided and made a box according the dimensions that I needed. I wanted to make a box for my handmade ‘Thank you’ cards, but I also wanted room to include handmade envelope seals and a black and white bakers twine for a little added cuteness.
For this tutorial I’m going to simply show photographs of how I made these boxes, but you can check out their video for detailed instructions on how to cut and assemble these boxes. I don’t want to take full credit for these—I’m hoping to get them the exposure they deserve for this wonderful idea. You can click here for the video.

Enjoy!


Now wasn’t that just the cutest?! I love that I know how to make these now—these would work great a gifts, favor boxes, and so much more. I hope you give this a try! Happy Crafting!

Product Gift Wrapping that’s Adorable & Affordable

Tuesday, February 7, 2012

As a seller I’m always looking for cute ways to wrap my sold merchandise before it’s shipped. I’ve tried lots of different ways to wrap my cupcake toppers, zipper pouches, stationary and more; but lately I’ve discovered that using wax paper to wrap most of my items looks so cute, and one roll of wax or parchment paper can go a long way—which allows me to save money. I snapped a few pictures, over the weekend, of the tools I use to wrap a zipper pouch and the end result. I hope you like it!
What I love about using wax paper is: it keeps the product safe from dust, debris, and possibly water as well. But not only does the wax paper serve as a good protector, it also looks cool because the wax paper is transparent.  Try using wax paper when wrapping your next order and share you pictures here! You can contact me when the images and I’ll share them on my blog.
Today while I was getting an order ready for shipment I thought I’d record the entire process. So, I’m going to get started on editing that video so you can see how I go about wrapping stationary as well.
Stay tuned for my video to see how I use wax paper to wrap stationary. Also coming soon, a video showing how I wrap my cupcake toppers using poly-bags, card stock, and stamps!
Proudly designed by | mlekoshiPlayground |