Showing posts with label how to make cards. Show all posts

Card of the Week--Star shaped Card

Wednesday, July 3, 2013

It’s been a while since my last ‘Card of the Week’ post. So I thought I’d take some time to create something cute and sweet—just for fun. I used my puffy star shaped dies, by Lawn Fawn, to create this star shaped card. I got the idea of making cards in a variety of fun shapes and sizes from Kelly Marie, over at LF. I think this card came out so cute. I never even thought of using different shapes for cards—I was always using the traditional A2 size. I've never even made a 5X7 card! I need to make one of those soon, too. If you’d like to know more about making star cards, or other shapes, check out this video with the detailed instructions showing how you can make your very own: click here
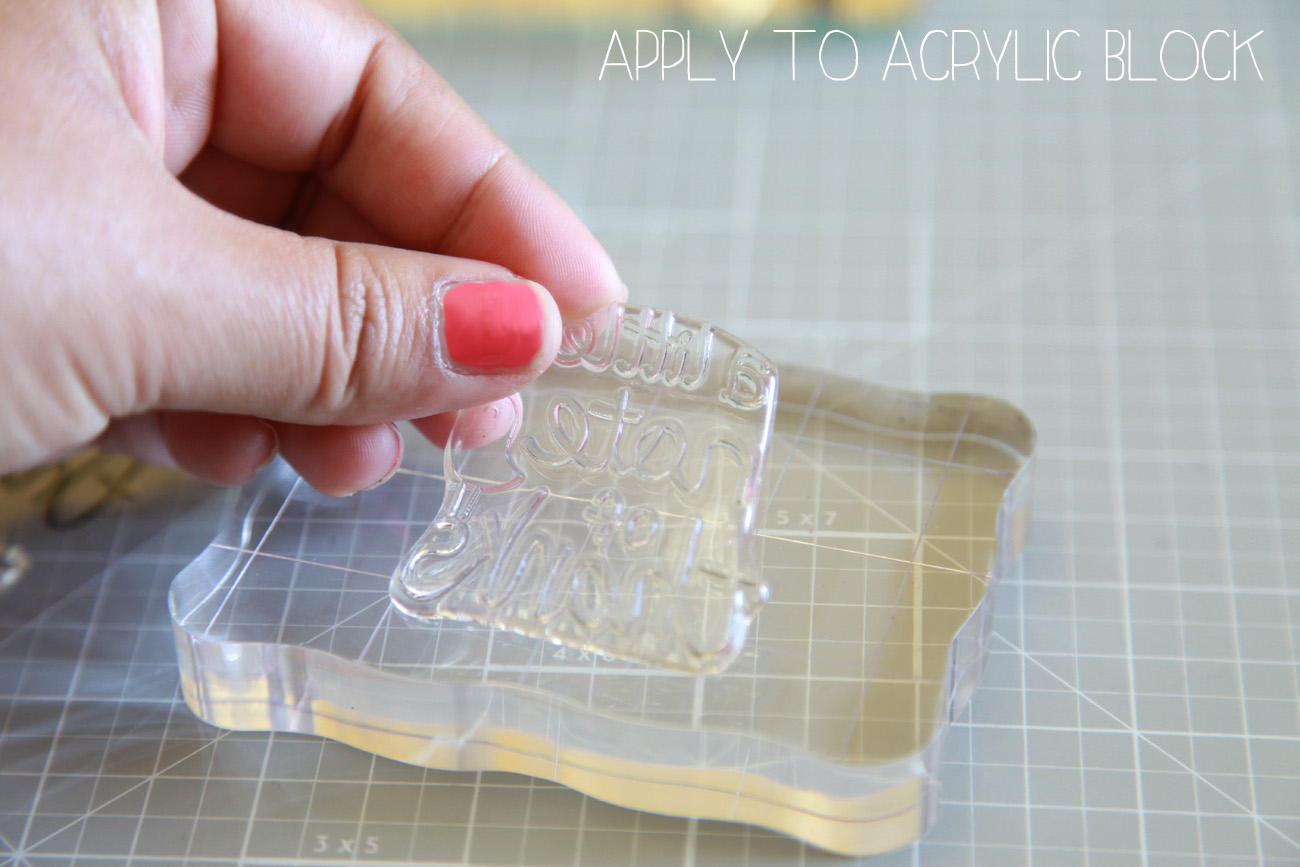
Here are a few shots of the stamp sets I’ve used to create this card. For the ‘Thank you’ text bubble I’m using this stamp set (click here), and for the botanicals  lion, banner, and sentiment, I’m using the following sets: (Click, here, here, here, and here). You can also see how I sneaked the gelly pen into the shot, hehe. This is the pen I used to create the faux stitching around the edges—I love it—especially on Kraft card stock. 
I’m also using the Dewey Decimal petite paper pack and I just love the designs in this pack—You can see a sample of how awesome this paper is be checking out the background on this card I made. So cute right?
In order to get the 3D effect, I used some dimension adhesive as shown in the image. I love use these when creating cards. I think it adds so much, and really looks like a lot of work was put into a creation. 
I really love this card, and I’m even thinking about all the different shapes I can make. What I love most about the LF dies is that the biggest die is the perfect size for an A2 envelope—so I don’t have to worry about finding any specific envelope. Love it! Let me know what you think of it in the comments. I can’t wait to give this card out. I wish someone would send me cards like this, lol. 

Card Making 101, Chapter 3, Paper and Stamps

Monday, March 11, 2013

Yes! The part where we get to use paper and stamps is finally here. Today I’m using my 6x6 paper pads, and you can find these are your local craft store, or craft stores online. However, using 6x6 paper pads isn’t a requirement in card-making—you can use 12 x 12 sheets of paper, magazine paper; or, even newspaper. Use anything that you want—there are no rules with card making. If you've been keeping up with the card designs I've created in the past, you’ll notice I sometimes don’t even use pattern paper for my single layer cards—Just stamps. So, don’t feel that you are confined to certain types of paper paper—use what makes you happy!
When adding pattern paper to an A2 size card you can completely cover the card base by cutting pattern paper (using scissors or a paper trimmer) that is the same size of an A2 car base (5 ½” x 4 ¼”), create a boarder by cutting a 4”x 5 ¼” piece of pattern paper, or a 4” x 3” piece of paper. The possibilities are ends—and always remember that there are no rules in card making, you can do whatever you want.
 Here is an example of what these sizes look like over a A2 size card base…
Next, I’d like to talk about acrylic blocks. When I first started stamped I had no idea what these were; and, I didn't even know I needed them, LOL. I used to just hold the clear stamp in my hand and apply it to my ink pad, thinking, “This is not very efficient at all”—like it was the stamps fault, haha. I didn’t learn about the acrylic blocks until one of my crafty friends invited me to her house to make cards, hehe. But now I know, and I can share this info with you so you don’t end up doing what I did. These acrylic blocks come in a variety of shapes and sizes, and they can be found at your local craft store; or, online. This is how they work…
It’s that simple. The cling and clear stamps adhere to the blocks without the use of any tape, or adhesive; and they remove easily as well.

Now, I’m going to show you how to make an extremely simple card using a white A2  card base, the 3”x 4” piece of pattern paper, and a clear photopolymer stamp—along with memento, tuxedo black, die ink.
That’s it! I hope you enjoyed today’s chapter, and I hope this has inspired you to start making your own cards for fun. Let me know if you have any questions! Also, don't forget to come back next Monday for Chapter 4, where I'll demonstrate how to make more cards using the other size pattern papers, and the different types of dies and embellishments you can use! 

Card Making 101--Chapter 2, Card Base

Monday, March 4, 2013

Hello! Welcome back to class, hehe. Today I’m going to be talking about creating a card base out of 8 ½” x 11” cardstock. Today I’m using a cream colored cardstock, by Recollections but feel free to use any paper or cardstock that you like; or, prefer—just make sure it’s the same size that I’m working with. We’re going to be using this paper to create what’s called an ‘A2 standard size’ card which measures at: 4 ¼” x 5 ½”. What’s so great about using the 8 ½” x 11” cardstock is that you can get two perfectly sized A2 cards out of one sheet of paper; and, you can create a tent style card or a book style card as well. If I’m losing you already feel free to scroll down while I explain more. 
In the picture above, I have the ‘tent’ style A2 size card which opens from the bottom, and I have the ‘book’ style card on the right that opens from the right. 
Here is a picture of the paper I’m using, I purchased this from Michaels, but feel free to use any type of paper or cardstock you can find. Even using computer paper works—it’s the same size as this card stock, shown in the image above. 
First I’m cutting a A2 tent style card; therefore, I’m laying the longest part of the card, vertically—with the paper trimmer.
 Next, using the paper trimmer, measure 4 ¼” and cut. This will give you two 4 ¼” x 11” pieces, shown in the image below. 
Next, you simply fold the card in half, creating a 4 ¼” x 5 ½” card base. Example of finished result shown below. 
A2 Book
Yay! Now we can move on to the A2 book style card. We start by laying the longest part of the card, horizontally.
Next, using the paper trimmer, measure 5 ½” and cut. This will give you two 5 ½” x 8 ½” pieces, as shown in the image below.
 Next, you simply fold the card in half, creating a 4 ¼” x 5 ½” card base.
There you have it! Two different style A2 size cards—now that the boring stuff is over we can finally start playing with our stamps and pattern paper, but that’ll have to wait until next Monday. I hope you’re enjoying this series as much as I am. I hope that this is helping someone is wants to learn the very basic skills for cardmaking. Thanks for stoppin' by :-p
Proudly designed by | mlekoshiPlayground |