Who doesn’t
love tostadas? They taste amazing; and, they’re super simple to make using simple
everyday ingredients. Today, I’m sharing this super yummy recipe that I’m
barrowing from my boyfriend’s mom. Gabe’s mom is a seriously amazing cook, and
every single dish she makes practically brings people to tears—because of the
deliciousness.
I personally
love making chicken tostadas because of the fact that they’re super easy to
make and they taste great (especially when I have a ton of orders to work on),
so making these breakfast tostadas is right up there on my top 5 easiest-most-delicious
recipes to make.
Breakfast Tostadas
Makes: 6
Time: 20 minutes
Level: Easy
Here’s what
you’ll need:
1. 6 Tortillas
2.
29
oz. Can of Sun Vista pinto beans or fresh pinto beans (I used canned pinto beans for this dish, it’s totally fine)
3.
Sour
cream
4. 6 Eggs
For the
sauce:
1. 1 tomato
2. 1/2 an onion
3.
3
jalapenos
4.
2
tbsp. of oil
Garnish
(optional—but delicious, haha)
1.
Queso
Fresco
2.
Cilantro
Ok, so first
I took the onion, tomato, and jalapenos—and diced them up. I also removed the
seeds from the jalapenos. Next I tossed these them into a small sauce pan that
had been preheated with vegetable oil—you want to hear that sizzle when the
ingredients hit the pan. Add a few pinches of salt—give it a toss and let it
sit on the medium high heat until they’re transparent and a sauce forms.
While the
sauce is turning awesome, you’ll want to take the can of beans and refry them. In
order to refry them, I take a medium cast iron skillet, add 2 tbsp. of vegetable
oil, and bring to a high heat. Once it’s piping hot you can add the canned
beans—but be careful because once the water hits the pan it gets pretty scary.
Once it’s all in, let it come to a boil, then lower the heat. When the beans
are nice and hot go ahead and mash them. Those are ready.
Next you’ll
want to fry up some tortillas. You can use the pre-fried/baked tostadas from
the market—but homemade are the best! You can cook these in a small frying pan
with just a little bit of oil (about 3 tbsp.) for a shallow fry. As you are
frying these you’ll want to keep a spatula on hand because these tend to bubble
up when they’re fried. Place your spatula on top of the tortilla as it’s frying
to ensure it stays flat. I learned that little trick from watching Gabe’s mom
makes these.
Next, you
can fry some eggs in a small frying pan (I used the same pan I fried the
tortillas in—no biggy). Once those are done you’re ready to assemble.
To assemble
you take a tostada, put a layer of beans, a layer of sour cream, the fried egg,
the sauce, the cheese, and some cilantro (and in that order—don’t mess around,
haha). Now they’re ready to be eatin’. I hope you give these a try because they’re
amazing!
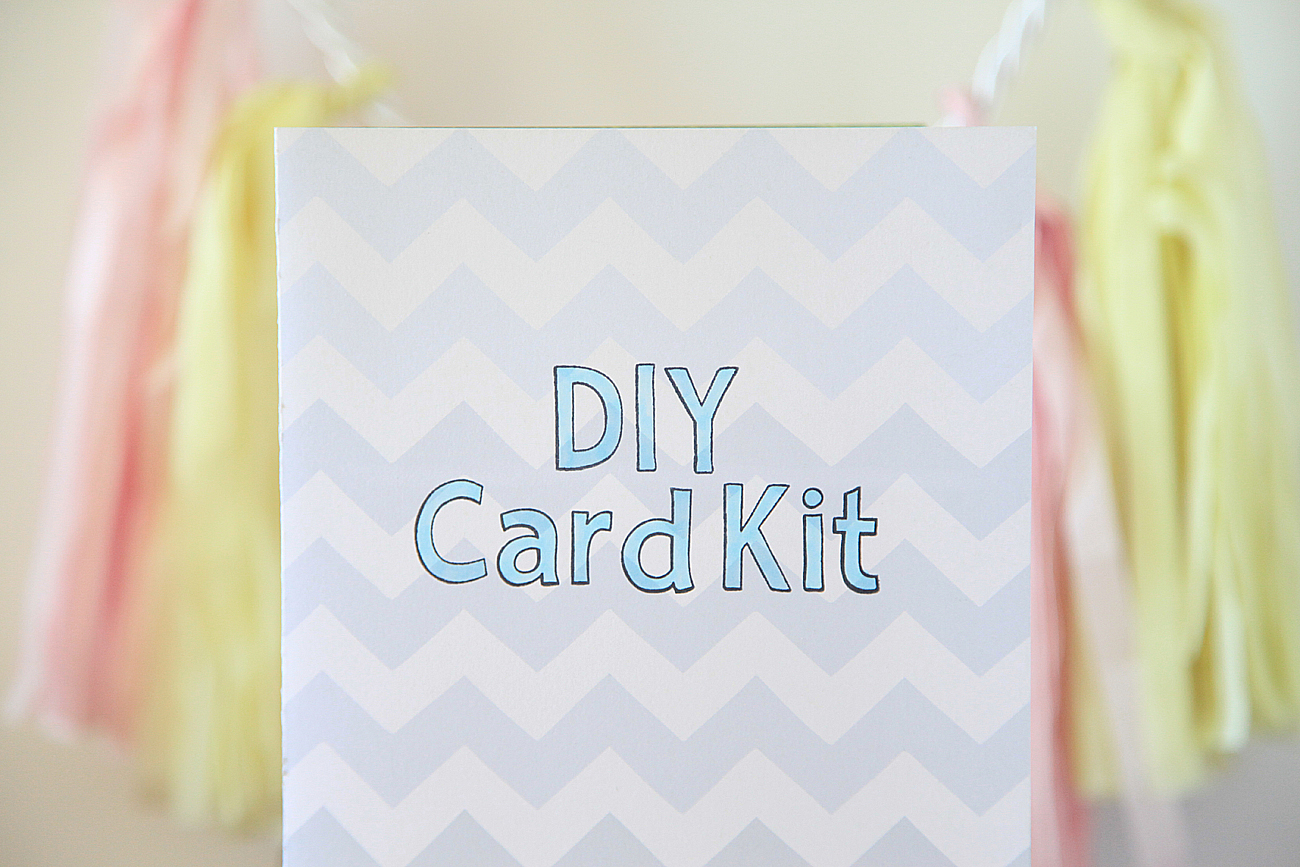
Now stay
tuned for Monday’s fun DIY. It’ll be a fun DIY to make as a gift or something
you can make and give to a bored kid. I got the idea for this new DIY because
my niece always wants to help me when I’m working at my craft desk, and I
wanted to give her something really cool and fun to play with -–something that
looked important, hehe. Well, I hope to see you back here on, Monday! Have a
great weekend!

.JPG)
.JPG)


 We had a lot of activities lined up for this trip; such as, Jet skiing, swimming with dolphins, massages, and many other things. It was so much fun. I think my favorite was using the jet skis—or maybe it was riding a dolphin…but going out at night with my Mom, Dad, and brother was pretty fun too! We went to the popular Cabo Wabo bar in the city and hung out with the locals. We were pleasantly surprised by the appearance of Sammy Hagar—I think my dad was the most excited, hehe.


