Showing posts with label do it yourself. Show all posts

How it’s Made Monday—Coin Purse/Point ‘n Shoot Camera Case

Monday, August 27, 2012

Today I wanted to show how I go about making my coin purses from start to finish, for my ‘How it’s Made Monday’ post. When I originally created the pattern for this coin purse, I made it big enough to carry cash money, credit cards, and loose change. But one day I received an email from a women who purchased one of these coin purses from me and she realized that this case is the perfect size for a point ‘n shoot camera as well! I was so excited about that. I even tested it out on my Sony—and she was right! So from now on I’m going to advertise this case as a multi-purpose mini case. I love anything with the word ‘mini’ in it, LOL. Anyway, let’s get this crafty party started! Here’s how I make it:


First I cut my outer fabric, lining, interfacing, and padding. 

Next I search for the perfect color zipper and piping to match the case. 

…this looks great.
Next I gather the main fabric and fusible interfacing and press them together. I love to use fusible interfacing because it makes the pouch much sturdier and clean looking. 

Once that is done, I grab the lining and press it—removing any and all wrinkles. 
Next, I whip stitch my zipper. 

Once I’ve whip stitched my zipper, I grab my felt interfacing and sew it the main fabric, then also sew the piping to only one side of the main fabric like so: 

Now I can apply the zipper…
Sew on the lining, with right sides facing each other. 
…repeat on the opposite side. 
Now, this is an important step: Edge stitch and open your zipper. 
Then you can take the lining and pin right sides facing each other, and do the same with the outer part of the case. 
Sew all the way around, and cut off excess. 
Next make a small opening at the bottom of the lining and turn inside out. Once it’s turned inside out sew the opening at the bottom.

Then it’s complete!

See…it fits my camera! So cute. 
Thank you for stopping by and I hope you enjoyed this Monday post :-D This case and a few more like it will be for sale in my shop very soon! 

DIY—Handmade boxes!

Thursday, June 28, 2012

Hello everyone! I’m so excited to be back with this really easy—yet super fun, tutorial. I’ve always been interested in making my own card boxes; and one day I felt like searching the sea of videos on Youtube to find a quick, easy, and fun handmade box tutorial. When searching, I came across this really cute duo, from the UK, that has a blog and Youtube channel dedicated to handmade crafts; and, I immediately feel in love with them. They’re so cute, funny, and delightfully entertaining. You can find them here and here.

What I did was take the box making instructions they’ve provided and made a box according the dimensions that I needed. I wanted to make a box for my handmade ‘Thank you’ cards, but I also wanted room to include handmade envelope seals and a black and white bakers twine for a little added cuteness.
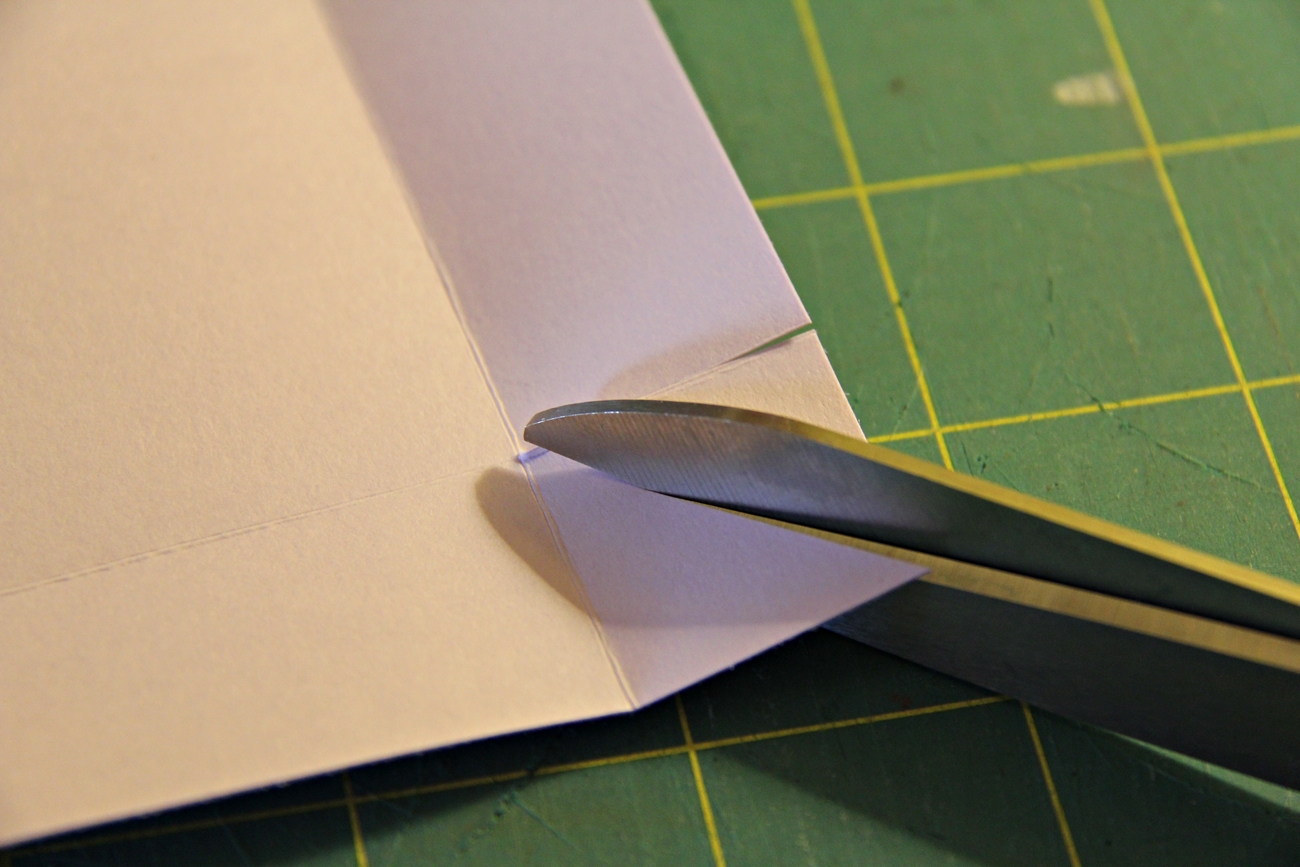
For this tutorial I’m going to simply show photographs of how I made these boxes, but you can check out their video for detailed instructions on how to cut and assemble these boxes. I don’t want to take full credit for these—I’m hoping to get them the exposure they deserve for this wonderful idea. You can click here for the video.

Enjoy!


Now wasn’t that just the cutest?! I love that I know how to make these now—these would work great a gifts, favor boxes, and so much more. I hope you give this a try! Happy Crafting!

Cute Things You Can Make Without a Cricut—Using Affordable Tools

Wednesday, April 4, 2012

    Every once in a while I’ll have friends over for a visit, and they (and their children) are always immediately drawn to my craft table. I’m always willing to answer any questions they may have about what certain things are, how they work, and how much certain tools cost. But one of the most common statements I get from visitors is, “I wish I could make these cards, or these cupcakes toppers, but I don’t have a Cricut.” Every single time I heart that I’m not convinced, lol. I always say, “You don’t NEED a Cricut to do most of the things I make.” Sure the Cricut can make tons of things—but to be honest most of the time I only use my Cricut for printing out tags, and making Hello Kitty items. I love being hands on with every step of my craft—the items I create with tools and my hands always seem to come out better and I feel that they have more value.
What are those tools you ask? They’re craft punches! –Craft punches, high quality card stock, stamps, ink, glue, ribbon, imagination, love, etc. Here are some of the craft punches I use to create cupcake toppers, tags, cards, and embellishments.
Once I’ve punched out the shape I want, I just use some stamps to decorate the paper and these are some of the items I’ve made using these tools (without a Cricut).


Therefore, you can create some of these too. Perhaps with every paycheck you can buy a craft punch, some paper (when it’s on sale), and other needed tools—to start creating and sharing these things with the world.
Proudly designed by | mlekoshiPlayground |