I know it’s Halloween and I should probably be posting something
a little bit more dark and spooky but I have to be honest—I’m not really much
of a Halloween person and plus I think I already got all of my Halloween mojo
out in this card (click here to view) that I made for the Lawn Fawn blog. I
sort of ran out of Halloween ideas really fast this year. I think my holiday creativity
usually starts to pick up around Thanksgiving and Christmas but those blog post
ideas will have to wait because I have a really fun and easy DIY for you today!
I’m featuring the Lawn Fawn stamp set, Sweater Weather, and
this stamp set is such a hit because of all the fun images and sentiments in
this set. But, one other great thing about this set is the beautiful and
whimsical boarder image provided. This image screams, label—especially because it
also has a coordinating die, making it easy to mass produce.
I’m using watercolor paper—you don’t really need any fancy
waterpaper for this project but I do have a rather awesome watercolor block
that I purchased from Blick in Los Angeles. What I love about this Fluidwatercolor paper is that it’s adhered down on both the top and bottom so keep
the edges of the page from warping and making it impossible to paint—and all of
you who have already dabbled in the art of watercolor know exactly what I’m
talking about. This block only has 15 sheets in it but it’s a great size; and,
it’s really thick paper so your watercoloring won’t seep through pages like one
might think. I’ve had a question from a few friends about this block asking if
the pages are easy to remove and YES they totally are! I love this block so
much I can’t go enough good things about it. I think this pad was under $4.00,
too.
I’m using a watercolor brush, and a watercolor set that I
purchased from Joanns with a 50% off coupon. The original price for this
watercolor set was about $8.00—which means I got it dirt cheap. When I first
saw it I was thinking to myself, “there’s no way these are going to be that
great” because of how cheap they were but I have to say they’re quite impressive.
I tried a range of watercolors—even watercolor pencils and I think these might
be my fav!
Now that I’ve covered the two main tools used for this
project I’m going to get started on the labels. I just had a little cup of to
water by my side and started to get my brush really saturated with water. Next
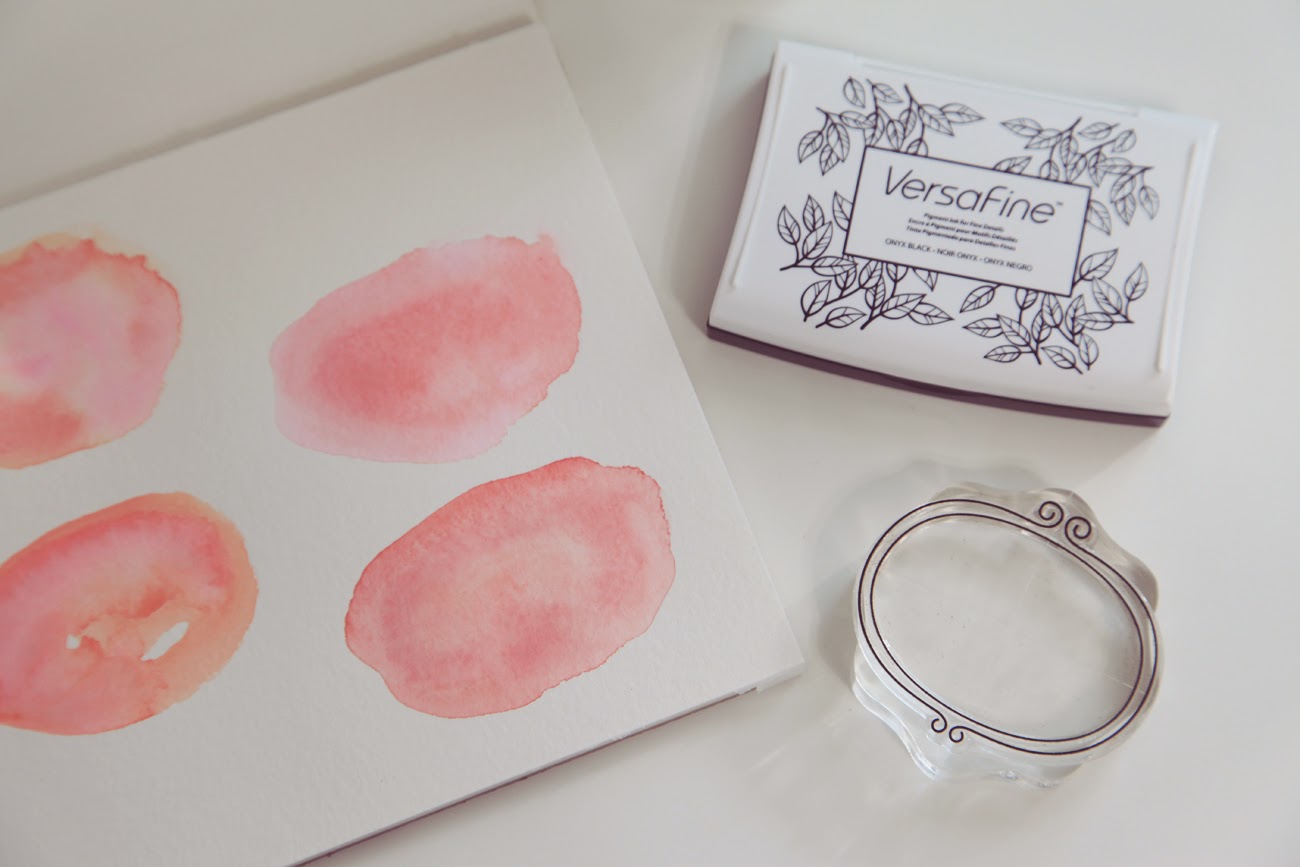
I began to pick up color and simply create ovals on my paper—estimating the
size they’d need to be to fit in the frame image from the Lawn Fawn stamp set.
Next I simply take some VersaFine ink in onyx black and start
stamping the frame image over the abstract ovals—after they’ve dried, of
course.
Once I stamped them all out I took my coordinating die and
cut them out using my Cuttlebug. Once they’re all cut out you can store them
away and save them for a party or you can use them right away like I did with
these treat bags. I stamped out a few names on these labels using the Lawn Fawn
alphabet stamp set, Violet’s ABCs. I made the treat bag using the awesome goodie bag die by Lawn Fawn—click here to view it. I also used their new paper line
which can also be found, here. If you have any questions in regards to this
project please feel free to ask! I really hope you enjoyed this easy DIY and if
you have an Instagram feel free to DM me your projects! I love when people do
that—it makes my day. You can follow me @unifyhandmade.
Have a great weekend!


Absolutely LOVE these custom name tags, so cute! I'm definitely gonna have to try this technique, TFS!
ReplyDeleteAdorable labels! They would make such cute goodie bags for the holidays! Thanks for sharing! :)
ReplyDeleteAmazing idea! I love your labels!
ReplyDeletewill try this idea :) brilliant!
ReplyDeleteThese are super sweet! Such great idea!!!TFS!
ReplyDelete