Pages

Wednesday, February 27, 2013

New Haircut and What I'm Wearing

Some of my readers expressed that they wanted to see my new haircut, so I thought it would also be cool to do a little ‘what I’m wearing’ post at the same time. This is my first post showing the clothes I’m wearing and my new accessory—my awesome backpack!  If you didn't see my post about the new clothes, shoes and accessories I bought, you can view them here. So, I got my hair cut super short and I love it! My hair was so long that I never did anything with it. When I was working at home, shipping packages, and running errands I always had my hair in a nasty bun with millions of flyway’s, haha—It wasn't pretty; so, I figured I’d just cut it so I’d that basically be forced to style it every day. I’m so lazy during the week when it comes to my hair and clothes and a short bob haircut will ensure I look cute throughout the week—which will boost my confidence a bit, hehe. 
This is my new backpack, in action. I’m so in love with it right now. I don’t usually go out and buy bags unless they stop me dead in my tracks as I’m shopping; namely, because I can make myself any kind of purse I want—but it takes a special kind of bag to make me forget that I can, LOL. I think the last time I bought myself a bag was about 4 years ago, during that time I was always making my own bags. Isn't it so freaken’ cute? I purchased this backpack at, Target. 
I’m also wearing my new sweater, purchased from, Forever21. I really fell in love with the color and the gold studs—I love anything with studs on it. 
Lastly, this is me trying not to look embarrassed as there were people walking by wondering why I was taking pictures of myself, haha. 

Monday, February 25, 2013

Card Making 101--Chapter 1

Hi everyone! My work schedule is finally back to normal and as promised I've brought my new series, ‘Card Making 101’! I’m so excited to share all the tips and tricks that I know, on making cards. This series will be totally free from start to finish and I hope you really enjoy it. If you've ever wanted to learn more about the tools I use or how to make cards these posts’ will definitely keep you entertained. I’m not a pro when it comes to card making, but I love showing others how to let loose and get creative! Today I’m starting off with chapter 1, which will consist of all the tools I use when creating cards. None of these tools are must-haves but these are some that I love using, and I’ll even show how to make cards without these tools, in future posts', for those who wouldn't want to spend money on something they’re not too sure about.  So, let’s get this party started. 
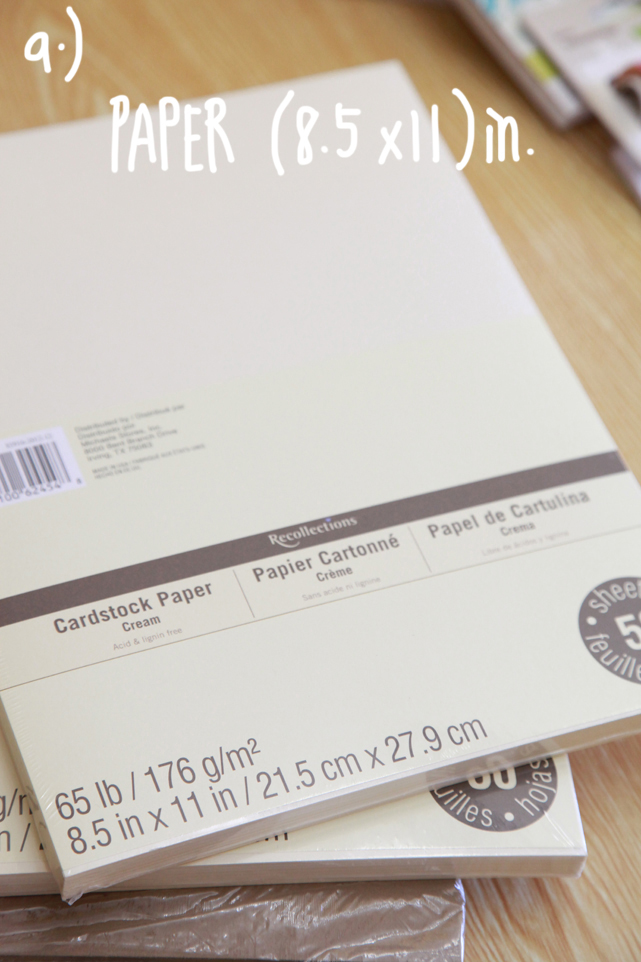
A.) Paper/Cardstock: To create a card base you can use any type of paper you like; however, I love using 8.5in x 11in size cardstock (in any color). You can find this paper at your local Michaels, Joanns, Office Depot, or even Staples. The reason that many card makers love to use this size paper is due to the fact that you can get two A2 (standard size: 4.25in x 5.5in) cards out of one sheet; and, I’ll talk about this more in chapter 2.
B.) Pattern Paper: You can use any type of pattern paper that you like. I like to use mini paper packs and single sheets purchased from my local Michaels, Joanns, or Lawn Fawn. You can use this piece to decorate your card; and, it adds so much color and flare to them.
C.) Paper Trimmer: This is the tool that I use to cut cardstock and pattern paper. It’s so helpful in cutting with precision. This can also be found at your local craft store.
D.) Scoring board: This is used to create score marks for precision folding, and comes in handy. However, you don’t need this in order to create cards. I have on because I make tons of them, hehe. I’ll go into more detail about this tool in chapter 2, as well. You’ll also notice number 1, which is a scoring stylus, and number 2, which is bone folder. Both tools help with scoring.
E.) Stamps: My favorite thing about card making are my stamps! I love collecting stamps—all types. Stamp types pictured are as follows: number 1—rubber stamps, number 2—acrylic stamps, number 3—photopolymer stamps. The differences in types and the kind of inks these stamps use will be described in more detail in chapter 2. 
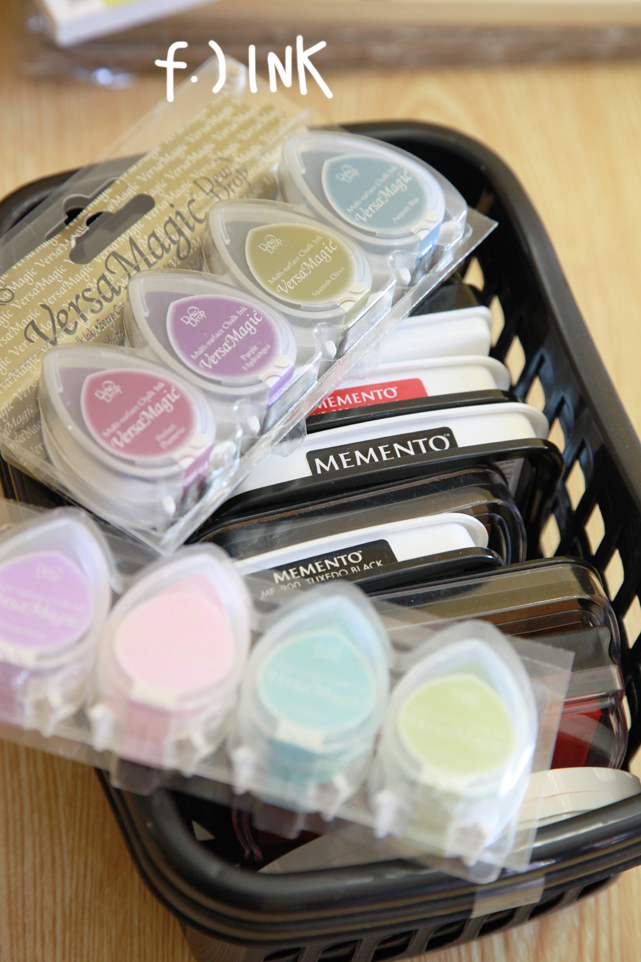
F.) Ink: I love using different types of ink when stamp; however, the type of ink to use for different types of stamps was always a mystery to me—and I learned which inks work best with each type of stamp the hard way, hehe. 
G.) Acrylic blocks: These are used with the clear and cling stamps. They come in different sizes and shapes. These work so well with precision stamping because you can see through the block and stamps! You can find these at your local craft store. 
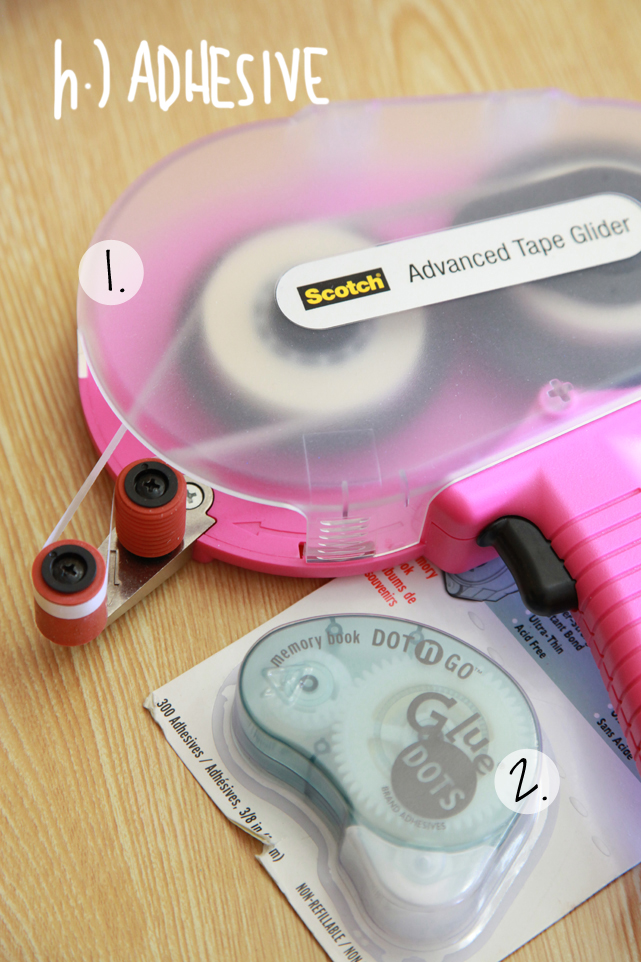
H.) Adhesive: I love using my ATG because I make a lot of cards for my shop (ATG, number 1) but you can purchase any other type of adhesive glider that will work for you (number 2). You can find a wide variety of adhesives at your local craft store. These are used to adhere your pattern paper, ribbon, and other embellishments you might want to add to your card. Card makers love using this type of adhesive because wet glue can cause the card to bend in really weird ways, haha, and these roll adhesives adhesives leave a nice finish. 
I.) Die Cuts: I like to use my die cuts from time to time, to cut shapes that I can use when creating a sentiment. For instance, these spellbinders and craft punches. They work so well and I’ll go into more detail about these in chapter 2, as well.
J.) Markers: great for stamps you can color in; and, great for coloring in paper-pieced images as well.  You don’t need this specific set of markers to color in your stamped images, though. You can use regular markers; or, even color pencils.
K.) Ribbon and Twine: I love using ribbon and twine to add flare to my cards, they are so pretty and come in such a wide variety of colors and prints. I can’t wait to show you how I use these.

That's it for chapter one! I can't wait to get started on this so you can get inspired and craft along with me or use this series in the future if you'd ever like to try card making. I hope I didn't confuse you with any of the crafting terms and tools; however, it'll get a lot easier when I'm showing you in detail how to create your own cards with these tools in chapter 2 and beyond. Thanks for stopping by and I hope you come back next Monday for the next chapter. 

Friday, February 22, 2013

Wardrobe Shopping

I just wanted to do a quick fashion post—and I wanted to do a Friday post so you know I’m still here, hehe. After the party I worked on last weekend I thought I’d be ready to blog again but I was so wrong. After the party was over I had a ton of orders to complete, and I just finished the last of my orders today. I should be back to normal with my blog schedule by this Monday! I also went shopping today—after shipping out a few orders, and bought myself a few new things for working so hard, haha. I also just got a new hair cut today, and I’m thinking about blogging it, but we’ll see.  I have new DIYs in store for you, and new papercrafting posts’ too, so you should be expecting those next week. I hope you have a great weekend!

Monday, February 18, 2013

Toy Story Birthday Party Reveal

The party took place this past Saturday, and it was so much fun. I think my favorite part of the party was watching Bella marvel at everything that we did just for her. But, can you believe I didn't even have any time to take pictures, myself?  I was so busy that I asked Gabe (my boyfriend) if he could snap some pictures for me—and he did a great job. I wish I had more pictures of all the details I worked on but when I did get a chance to stop and take a few pictures, I was too tired, haha. Overall, this party was so much fun to put together; and, I’m so happy that Bella, Johanna, and Shaun loved it!

Friday, February 15, 2013

Prepping for the Party

I’m so excited for tomorrow’s party! I can’t wait to put everything together and see my vision come to life. I’m currently working on all the last minute things, and I still have a long way to go; therefore, this post will be relatively short. However, next week’s post of the party reveal images will be a lot longer and more detailed to make up for the poor posts’ I've been uploading—sorry guys, hehe. So far, this is what I’m working on today. 

To view more posts' regarding this party, click here and here

Wednesday, February 13, 2013

Card of the Week

Here is my card of the week. I’m using a super awesome stamp set created by, Lawn Fawn, named: Admit One. This stamp set can be used for so many things—including Valentine’s Day. This card doesn't have the traditional red and pink colors in it—but it still works as a V-Day card with the, “You make my world go round”, sentiment. I used the carnival ticket stamp to create the background paper; and, I also used my wonderful Copic markers to color them in. Overall, I really enjoy this card and I can’t wait to give it to my boyfriend! I hope he isn't reading this right now, haha. 

Tuesday, February 12, 2013

Life lately…

Hi everyone! I wasn’t able to post yesterday because I’ve been so busy. Usually when I know I’m going to be busy on a Monday I’ll do the blog post the day before to have it ready in time; however, I’ve been busy almost every single day. Not only have I had a lot of orders, but I’ve also been planning a party (as some of you may know, but if you don’t you can click,here, for the details on the party I’m planning). This is the first time I’ve been so busy and I LOVE it! The only thing I need to work on is making enough time for my blog in between. I’m still working it all out and I hope you can forgive me ;-)
Here are few new things for the party!! I can’t wait for the final reveal—the party is this weekend so you can expect pictures of the entire event next week!
While I was working on orders this morning my older sister, Angie, came home and surprised my sister, Melanie and I with gifts! Melanie got this awesome Kitchen Aid mixer, and I got a Target gift card! We were so excited! I can’t wait to shop! Hehe. Thanks, Angie!
 I literally don’t have time to make lunch right now, so I stopped at the market to get a salad.
Back to work!...I’ll see you all tomorrow for my card of the week post.